Уровень 404
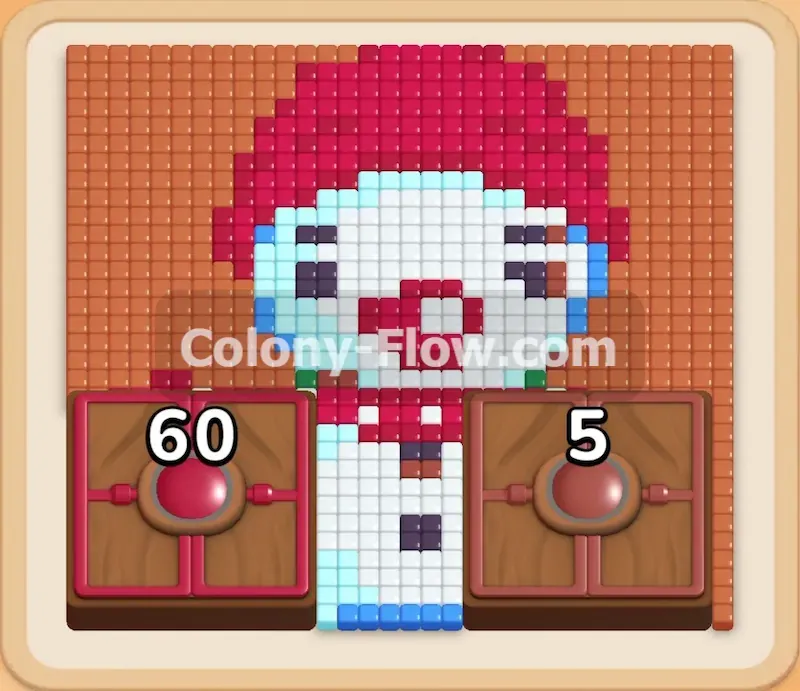
Introduce yellow and black blocks to clear out the facial features and ears. Once the first wave of ants clears a solid chunk of the white face you gain access to the deeper facial details. The yellow highlights and the
Чек-лист перед стартом
- Посчитай цвета: сколько кубов каждого и сколько лунок под них
- Открой верхние стопки — они перекрывают тропу
- Сначала убери цвета, у которых мало кубов
- Оставь минимум один пустой слот до конца
Пошаговое прохождение
- 1Introduce yellow and black blocks
Introduce yellow and black blocks to clear out the facial features and ears. Once the first wave of ants clears a solid chunk of the white face you gain access to the deeper facial details. The yellow highlights and the black eyes and nose are now fully exposed to your colony. Tap a yellow block to move it into your tray right next to the remaining orange block. Follow this move immediately with a black block. The yellow block sends ants to the top left area of the head to clear the bright fur. The black block directs them toward the small dark clusters forming the ears and the snout. Managing these small clusters requires total patience because the ants take longer to path around corners to reach isolated tiles. Keep an eye on your waiting slots as the ants travel. You should maintain at least two empty slots right now. Leaving empty space in your tray guarantees you can react quickly if a new path suddenly opens up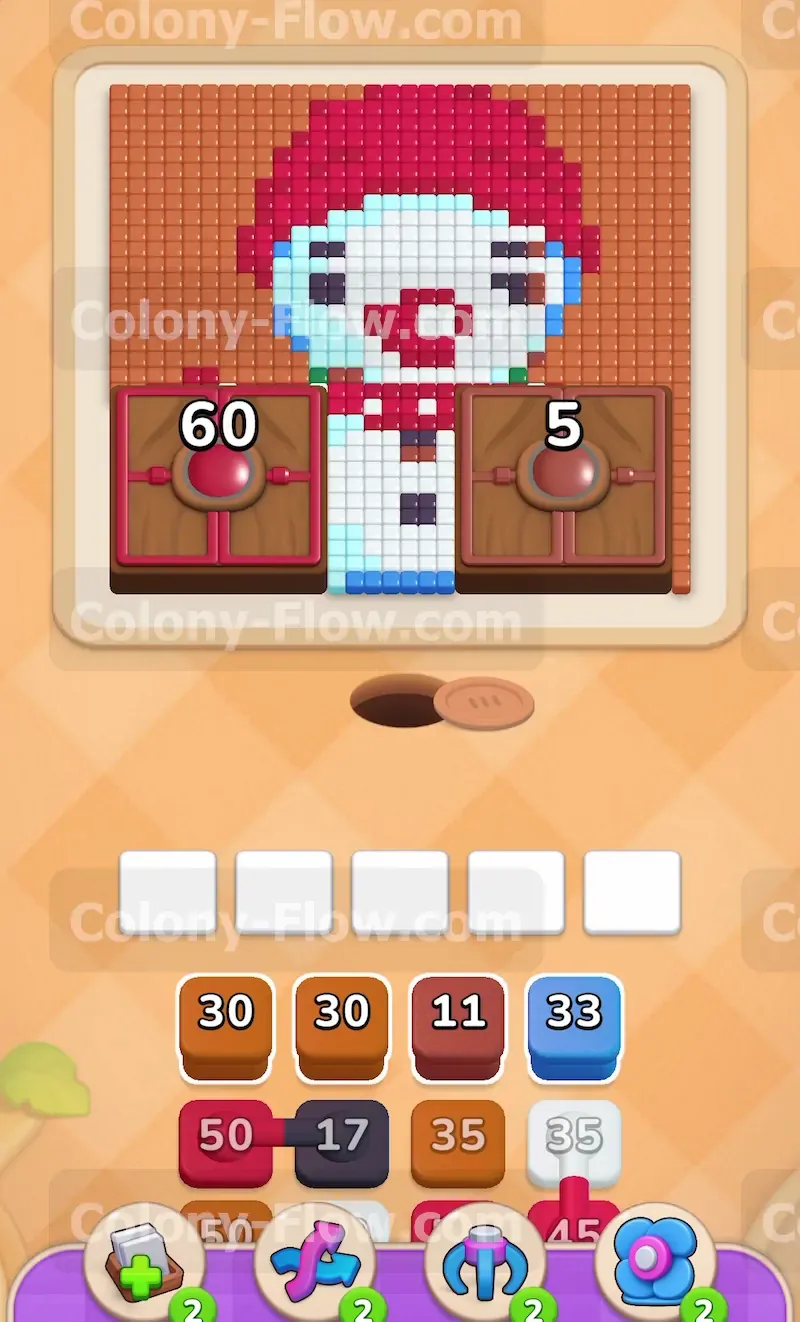
- 2Use large orange blocks to
Use large orange blocks to hollow out the chest and back of the animal. The red panda consists of an enormous amount of orange tiles that form the core structure. You absolutely cannot clear them all with just one block. Pull another large orange block into your tray to keep the clearing momentum going strong. The ants will push much deeper into the chest and back of the figure. They split into multiple dynamic streams to attack the broad solid areas from different sides. This massive consumption of orange tiles is exactly what you want to see happen. It removes the physical barrier separating the left side of the board from the right side. As the orange block counts down toward zero you will notice the brown stripes on the tail becoming fully exposed. Resist the strong temptation to pull a brown block right away. Let the orange block finish completely so your tray remains entirely uncluttered and safe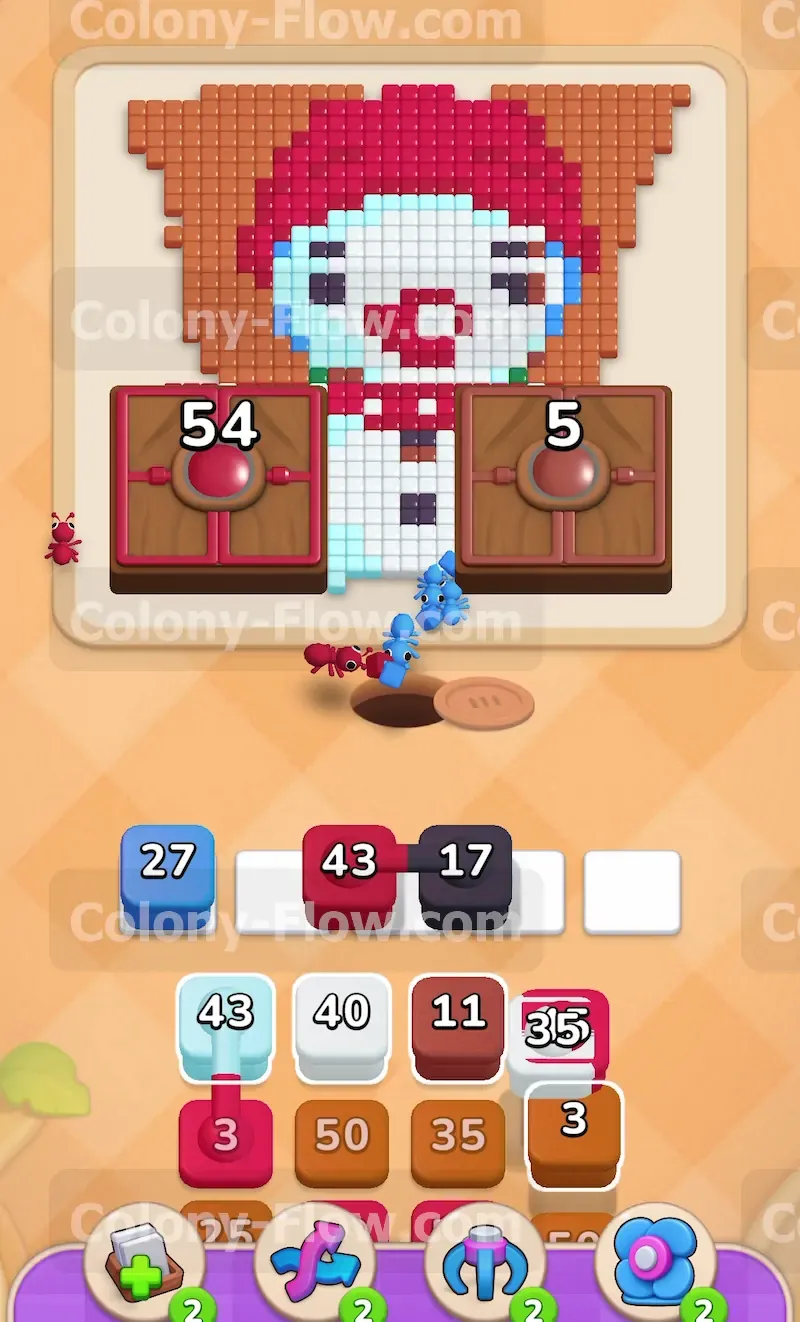
- 3Deploy purple blocks to begin
Deploy purple blocks to begin breaking down the massive background section. With the body heavily hollowed out your ants have a clear run to the top edge of the board. A massive field of purple tiles wraps around the back of the red panda acting as the sky. Tap a high number purple block to send a massive swarm upward toward this new zone. The ants will hug the newly opened paths and wrap around the remaining orange tiles to reach the purple area. This is a very satisfying phase of the level because you watch a huge portion of the board vanish very quickly. Since the purple section is so large the ants can attack it from multiple angles at the exact same time. The number on your purple block will drop rapidly as the swarm goes to work. Prepare to pull a second purple block soon to maintain the heavy pressure on the top half of the board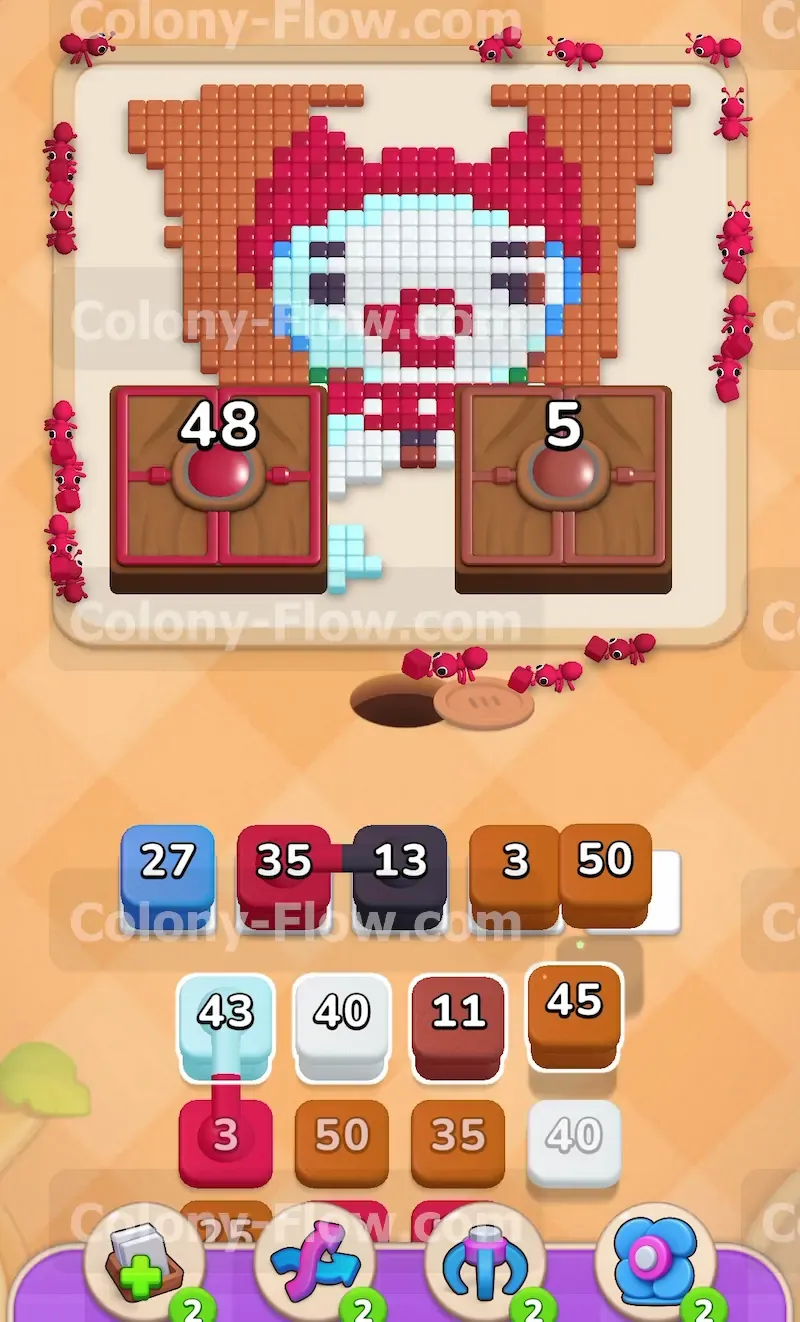
- 4Activate light blue and yellow
Activate light blue and yellow blocks to clear the bottom left corner pattern. Shift your active attention down to the bottom left section of the board. A distinct curved pattern of light blue tiles sits here completely exposed to the nest. Move a light blue block into your tray right now. The ants will take a very short fast path straight to this corner. Because the travel distance is so short this light blue block clears out incredibly fast and frees up the slot. Pair this action by pulling another yellow block to clean up the lingering yellow tiles on the face. You now have ants working efficiently on two completely different zones of the board. This split strategy maximizes your clearing speed without risking a sudden tray jam. Always visually verify that both colors have a clear unobstructed path before you commit them to the waiting slots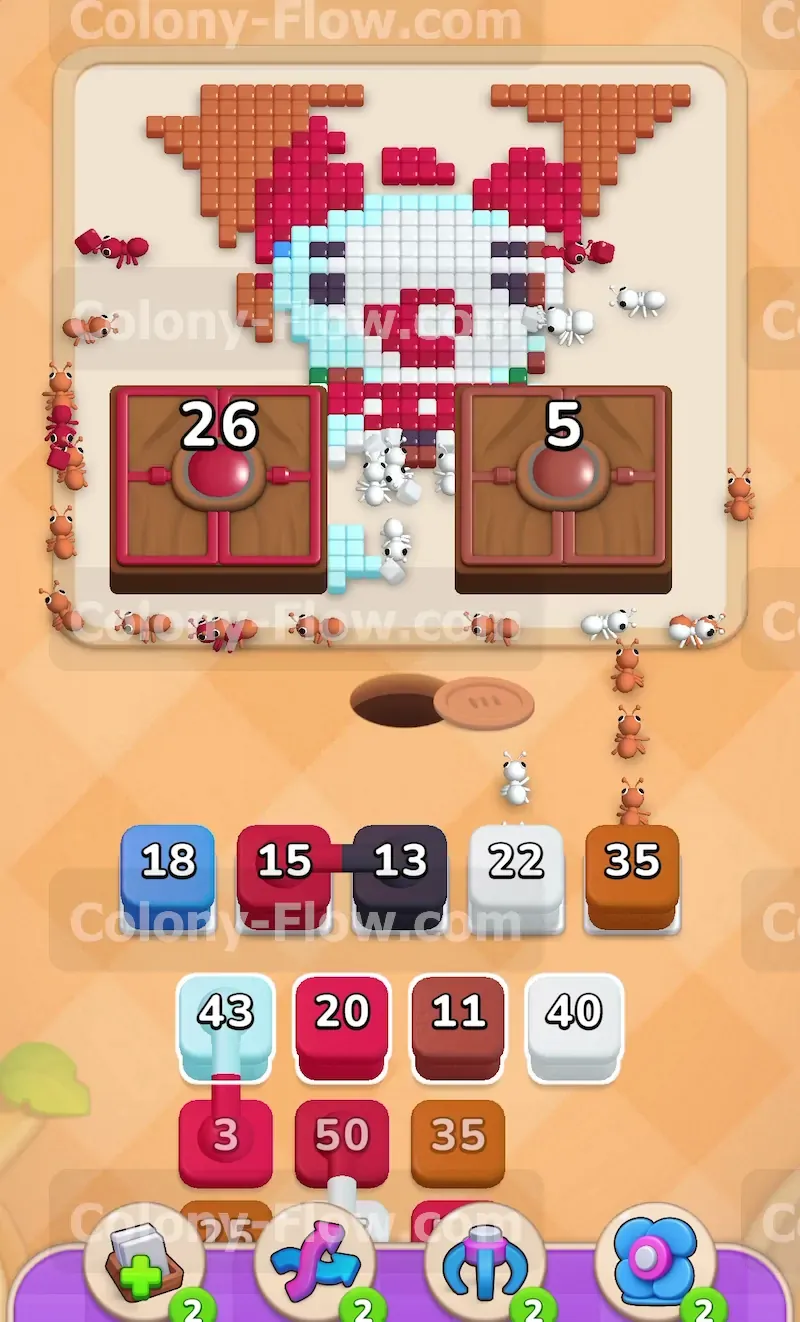
- 5Target the brown stripes on
Target the brown stripes on the tail with a fresh brown block. The right side of the screen is completely dominated by the large bushy tail. The thick brown stripes are now entirely reachable because you cleared the protective orange tiles around them. Select a brown block from your tray to begin the final major demolition phase. The ants will march across the empty center of the board and begin dismantling the dark stripes piece by piece. You will notice that clearing the brown tiles exposes even more orange tiles previously hidden directly behind them. This staggered layering is the main trick the game uses to trap you and fill your tray. If you had pulled a brown block too early it would have jammed your tray permanently. Now the sequence flows perfectly. Let the brown block count all the way down to zero before touching anything else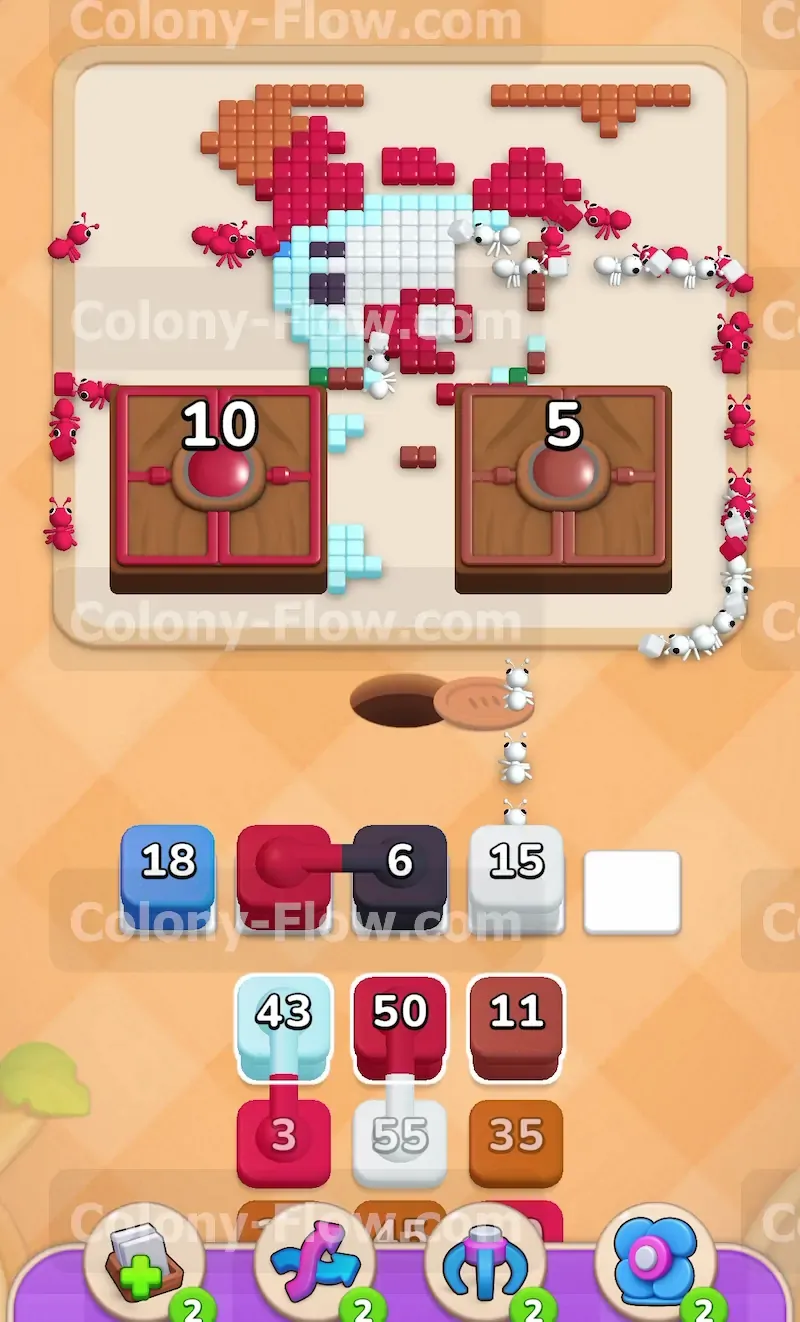
- 6Alternate between small orange and
Alternate between small orange and black blocks to clean up scattered fragments. The entire board looks very fragmented at this late stage of the level. You have a few isolated chunks of orange tail a small piece of black ear and maybe a few stray tiles scattered in the center. You must switch your strategy away from large bulk clears to precise targeted pulls. Find a small number orange block in your tray and tap it firmly. As soon as the ants clear that specific cluster pull a small black block to handle the ear. You are basically doing mop up duty now to finish the level. Never pull a massive number block for a tiny cluster of remaining tiles. If you pull a twenty block for five tiles the block will sit in your tray with fifteen useless points left over. That remaining number takes up a permanent slot and severely restricts your flexibility for the rest of the game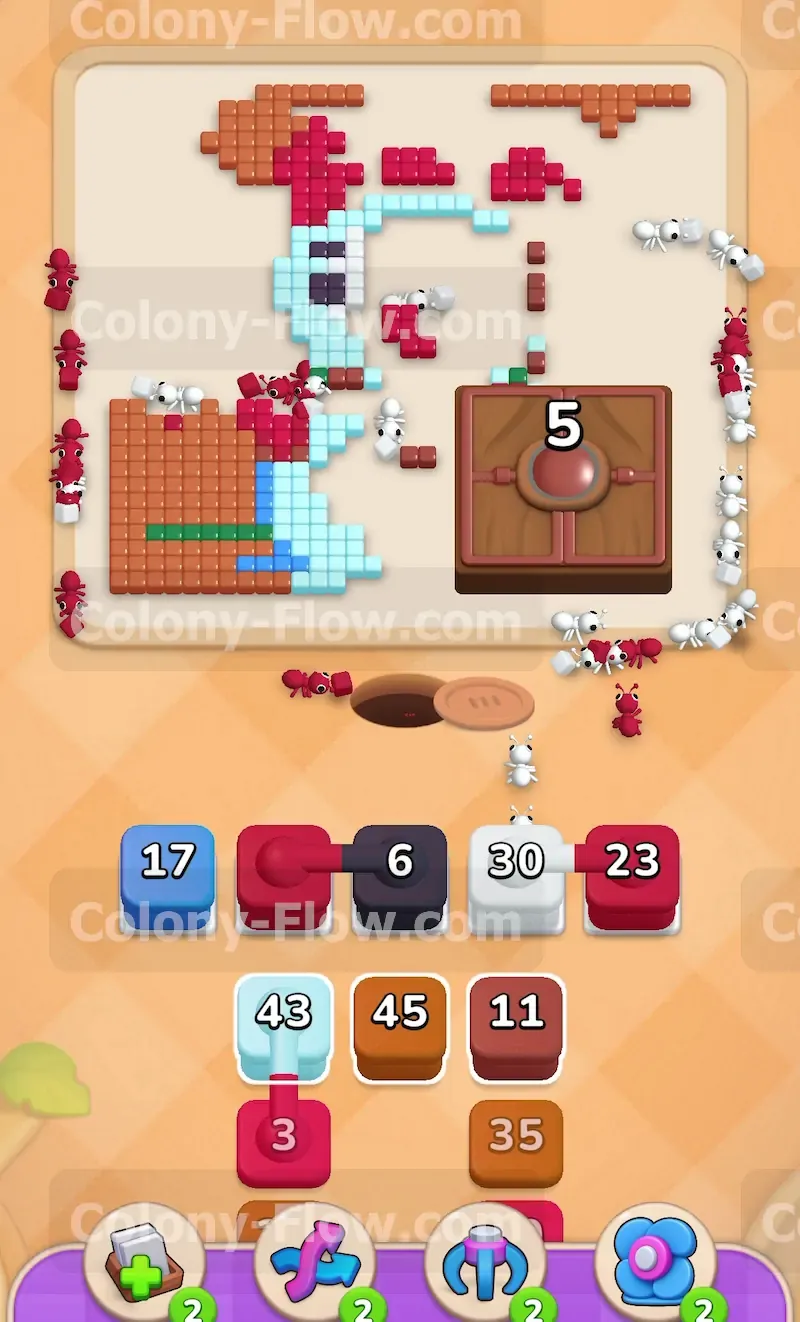
- 7Clear the final purple background
Clear the final purple background pieces at the very top of the board. Only a small handful of tiles remain near the top right corner of the screen. These are usually the very last scattered bits of the purple background and the final pointed tip of the tail. Pull your final purple block to send the ants on their longest journey of the entire level. They must travel from the nest hole all the way up to the furthest top corner. While they make this long trek pull your final small orange block to finish the remaining tail pieces. Watch the ants swarm these last few stubborn pixels. Once the final tile disappears from the screen the ants will turn around and hurry back down the board to their nest. Your tray will empty out completely as the level resolves. You have successfully navigated the board without ever dead ending your ant colony - 8Start the massive brown block
Start the massive brown block to clear the thick base line. You need to tackle the thick brown base immediately because it blocks everything else on the board. The tray gives you a brown block with a massive 700 count to handle this obstacle. You pull this heavy brown block into your first waiting slot right as the level begins. The brown ants will stream out of the nest hole and begin their very long feast along the entire bottom edge of the picture. This specific block takes a very long time to count down to zero due to its huge size. You must let it run in the background while you carefully queue up your next moves. Leaving the brown base intact completely blocks access to the white armor and the dark purple legs located just above it. Getting the brown ants moving immediately is your top priority to pry open the rest of the board. Since this brown block sits in your tray for a long duration you effectively only have four open slots to work with for the early portion of the level
Совет: Если застрял — рестарт уровня: раскладка та же, но можно сыграть иначе.
Точная раскладка кубов и лимиты слотов на уровне 404 могут меняться между обновлениями — проверяйте по полю уровня в игре (verify).